


TOP CATEGORIES
Find Your Perfect VDIAGTOOL Scanner


VDIAGTOOL OFFICIAL


VDIAGTOOL VD80BT


VDIAGTOOL VD80BT Lite


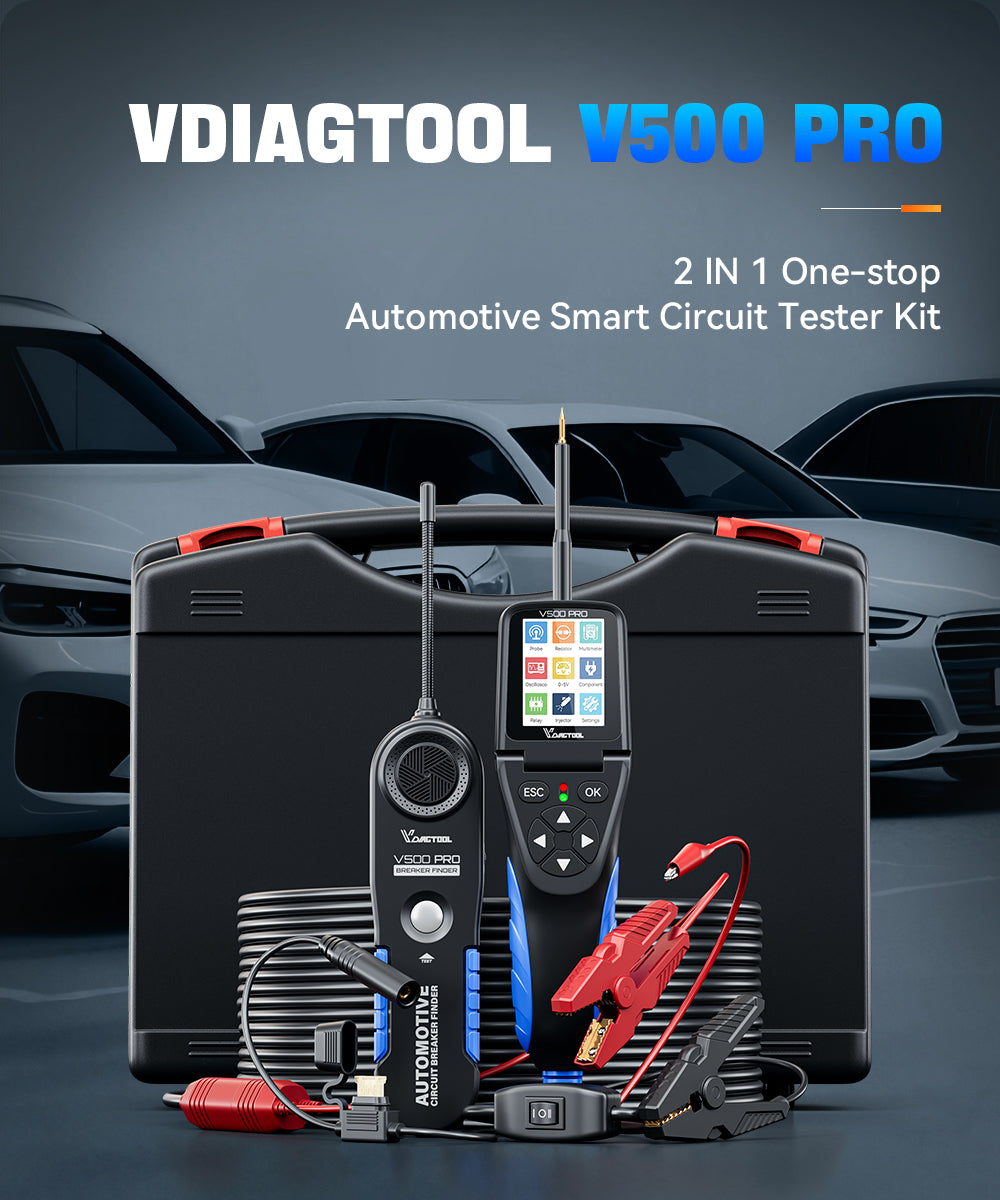
VDIAGTOOL V500 Pro


VDIAGTOOL V210


VDIAGTOOL VD70S


VDIAGTOOL BT500


VDIAGTOOL VD10
VDIAGTOOL V210
VDIAGTOOL VSERIES


VDIAGTOOL V200 Pro Upgrade Kit


VDIAGTOOL V200 Pro


VDIAGTOOL V500


VDIAGTOOL V200
VDIAGTOOL V210


Intelligent, Precise, Efficient, Cost-Effective
VDIAGTOOL was founded in 2018 by a team of industry experts with over 20 years of experience in automotive repair and maintenance. We specialize in the research, development, manufacturing, sales, and service of advanced automotive diagnostic tools, testing equipment, and maintenance solutions. Click below to learn more about our journey!
1000+Influencers Recommendations
VDIAGTOOL – Your Trusted Partner for Easier Auto Repair


Let customers speak for us
LATEST NEWS

Why Your Car Needs ABS Bleeding: Common Problems and Fix Guide
You’re driving a 2015 Toyota Camry, and after replacing the rear brake distributor pump, you notice that the brake pedal feels unusually soft and unresponsive. Even when you press harder, the braking distance seems longer than before. This is a typical sign that air has entered the ABS system, reducing braking sensitivity. In such cases, simply changing brake fluid is not enough — you need to perform ABS Bleeding. This special function helps remove trapped air from the ABS unit, restores proper brake pressure, and ensures the anti-lock braking system can react quickly during sudden stops - and the VDIAGTOOL VD80BT is an excellent example. In this blog, we’ll walk you through: When ABS Bleeding is required (real-world scenarios).How to use a diagnostic tool to perform ABS Bleeding step by step.Tips to ensure safe and effective brake maintenance. What Does “ABS Bleeding” Mean? ABS (Anti-lock Braking System) keeps the tires from locking up immediately when there are brakes. Keeping ABS in good condition can give full play to the effectiveness of the brakes, shorten the braking time and distance, prevent the vehicle from skidding and tailing during emergency braking, ensure good driving stability and steering maneuverability, and avoid violent friction between the tires and the ground to reduce tire wear. When the ABS con- tains air, the ABS bleeding function must be performed to bleed the brake system to restore ABS brake sensitivity. ABS Bleeding can be performed in the following cases ● Replace the rear brake distributor pump or the front brake distributor pump. 2.● Severe brake fluid shortage● Change the brake fluid The operation guidelines of the ABS Bleeding function are shown as below 1. Read the operating instructions and precautions that appear on the screen carefully before performing the operation to ensure that the equipment and car are in the correct condition2. Attach bleeder bottle to the left rear bleeder screw.3. Open the left rear bleeder screw. 4. When ready, click "OK" to enter the bleed procedure, and pumping the brake pedal continuously with steady applies every 2 seconds during the entire procedure. 5. Continue pumping the brake pedal, when air bubbles are no longer visible, select OK toenter next bleed procedure for left front wheel. 6. Repeat the operation 3 times to complete the bleed procedure for the left front wheel, right front wheel and right rear wheel in turn.7. Stop pumping the brake pedal, and close the right rear bleeder screw. 8. Click OK to complete the entire bleed procedure. Caution ● The ABS pump screw needs to be unscrewed● Brake fluid will be under pressure during this process. Secure the bleed hose and openbleeder screws slowly● Some vehicles do not support automatic bleeding, but manually bleeding Final Thoughts If you're replacing brake components or your pedal still feels soft after a manual bleed, chances are air is trapped in the ABS system. Instead of guessing or paying for a trip to the dealer, a bidirectional scanner like the VDIAGTOOL VD80BT lets you perform ABS bleeding the right way—quickly, cleanly, and confidently. So whether you're a DIYer looking to level up, or a shop tech wanting to save time, VDIAGTOOL VD80BT gives you dealer-level power without the dealer-level price.
Learn more
VDIAGTOOL Diagnostic Tool TeamViewer ID Guide: Must-Read Before Remote Support
When customers contact us for remote assistance, we need your Device ID. However, many users mistakenly send us the SN number from the product's back label instead. While the SN number is useful for production tracking, it is not the same as the Device ID. This article will help you clearly guide you step by step to locate your correct Device ID. This function allows our tech support team to control the Diagnostic Tool remotely to check possible problems with the Diagnostic Tool or help you with navigation path etc. Please note that remote assistance requires both parties to be online and communicating in real time. How to Find Your Device ID (VD80BT Example: installing the test version) Step 1: Open the diagnostic tool and tap the Home icon to access the main menu of your device. Step 2: Find and click the QuickSupport. Step 3: After clicking QuickSupport, wait for a few seconds and your device’s remote ID is displayed. You will need to provide us with the ID, and our engineer will send you an invitation for remote assistance. Make sure the TeamViewer is in “ready to connect” status before the scheduled remote assistance appointment. The TeamViewer ID will show on the right side and the connection status at the bottom left. Step 4: Our engineer will remotely perform the necessary operations (such as installing the test version) to resolve the issue you are experiencing. Frequently Asked Questions Q: I can only find the SN number, not the Device ID. What should I do?A: Please check your device menu under Home> QuickSupport. The Device ID will be listed there. Q: Is it safe to share my Device ID?A: Yes. The Device ID does not contain personal data. It is only used to identify your device for software and authorization purposes. Q: Are the steps the same for all VDIAGTOOL Diagnostic Tools?A: Most models follow the same steps. If you can’t find the Device ID, please contact us directly for guidance.
Learn more
Step-by-Step Guide to EPB Reset by Using VDIAGTOOL VD80BT
Electronic Parking Brake (EPB) System reset is a commonly performed special function. You can use this function to reset the electronic parking brake system and brake pads (retraction, release of the brake pump), G-sensor and body angle calibration. This function has multiple uses and can safely and effectively maintain the electronic brake system. These applications include deactivating and activating brake control systems, assisting in controlling brake fluid, applying and releasing brake pads, setting brakes after replacing brake discs or brake pads, etc. If the brake pad wears the brake pad sense line, the brake pad sense line will send a signal to the onboard computer asking for replacing the brake pad. After replacing the brake pad, you must reset the brake pad to clear the trouble code. Otherwise, vehicle will continue to falsely notify the driver that the brake pads are in need of replacement. A reset must be performed in the following cases ● The brake pad and brake pad wear sensor are replaced.● The brake pad indicator lamp is on.● The brake pad sensor circuit is shorted.● The servo motor is replaced. The operation guidelines of the EPB function are shown as below Step 1. Enter the EPB menu and choose relevant models according to the vehicle being tested. Step 2. Follow the instructions displayed and press YES after completing the instructions shown. Step 3. Enter the Enter maintenance mode menu and release the handbrake brake. And press OK after completing the instructions shown. Step 4. Wait until the message of “Successful operation” pops up. And press OK to exit the menu. Step 5. Enter the Exit maintenance mode menu and wait until the message of “Successful operation” pops up. VD80BT - Buy Now! Questions? Drop a comment below and let’s discuss!
Learn more
VD70S: Your Car’s Smart Health Guardian
In today’s fast-paced world, vehicle reliability is more important than ever. Picture this: your check engine light suddenly turns on. The uncertainty about what’s wrong can be both frustrating and stressful. That’s when automotive diagnostic tools prove their value. These devices quickly and accurately identify issues within your vehicle, helping you save time, reduce repair costs, and eliminate guesswork. Among the many diagnostic solutions available, the VD70S stands out as a powerful, user-friendly tool designed for both professional technicians and everyday drivers. With its advanced diagnostic capabilities, intuitive interface, and wide vehicle compatibility, the VD70S makes it easier than ever to locate problems and keep your car in peak condition. Car Diagnostic Tools Car diagnostic tools are specialized electronic devices used to interface with, diagnose, and in some cases, reprogram a vehicle’s control modules. Modern vehicles are equipped with a complex network of sensors and microprocessors that continuously monitor performance. When something goes wrong, these systems generate error codes that a diagnostic tool can retrieve and interpret. How They Work Car diagnostic tools connect to the vehicle's onboard computer system via the OBD-II (On-Board Diagnostics) port, which is usually located under the dashboard. Once connected, the tool retrieves error codes and interprets them to identify specific problems. Some advanced diagnostic tools can even provide real-time data and suggest possible fixes. Benefits of Using Car Diagnostic Tools Car diagnostic tools offer a range of benefits, making them essential for both car owners and professional mechanics. 1. Accurate Problem Identification One of the primary advantages of car diagnostic tools is their ability to accurately identify issues. Instead of relying on guesswork, these tools provide precise information about what is wrong with the vehicle. This accuracy can prevent unnecessary repairs and part replacements, saving both time and money. 2. Time Efficiency In the past, diagnosing vehicle issues was a time-consuming process that often involved trial and error. With car diagnostic tools, mechanics can quickly pinpoint the problem and proceed directly to the necessary repairs. This efficiency translates to faster turnaround times for repairs and less downtime for vehicle owners. 3. Cost Savings Accurate and timely diagnosis prevents small issues from escalating into major, costly repairs. By catching problems early, car diagnostic tools can save vehicle owners a significant amount of money in the long run. Types of Car Diagnostic Tools Car diagnostic tools vary widely in capability and complexity. Basic code readers provide simple error code reading, while professional-grade scanners offer advanced features such as live data monitoring, bi-directional testing, and ECU reprogramming. The right choice depends on the user’s needs—whether for basic home maintenance or comprehensive professional diagnostics. With so many diagnostic tools available on the market, choosing the right one can be challenging. This is where the VD70S sets itself apart—offering the perfect balance of professional-grade features, ease of use, and reliable performance. Key features Powered by Android 10.0, the VDIAGTOOL VD70S features a 1.5GHz quad-core processor, 2GB RAM, and 64GB ROM for smooth multitasking and rapid diagnostics. The vibrant 7-inch display with 1024x600 resolution provides clear visualization of diagnostic data, while dual-band 5GHz & 2.4GHz WiFi connectivity and an 18.25Wh battery ensure fast, uninterrupted operation. With 30x faster wireless connectivity and support for CAN FD/DoIP protocols, it delivers quick, covering over 140+ brands, accurate diagnostics across 10,000+ vehicles. 39+ Special Functions The VD70S is fully equipped with essential maintenance that modern fleets depend on. Here are a few examples: Functions: DPF Regen, Injector Coding, Oil Reset, ABS Bleeding, SAS Calibration, Throttle Reset, Clutch Adaptation, Speed Limit, Camshaft Learning and more. This comprehensive function set ensures quick issue resolution across nearly every system onboard. ECU Coding Like VDIAGTOOL 's flagship VD70, the VD70S car diagnostic tool includes ECU coding, enabling programming and configuring of the vehicle's electronic control unit (ECU) to optimize performance and functionality. This feature allows for personalized settings to customize vehicle functions and ensure new components work seamlessly with existing systems. It also enables performance optimization by modifying parameters such as fuel mapping or turbo settings, improving engine performance. Additionally, ECU coding assists in troubleshooting by resetting or modifying ECU settings to enhance issues and clear error codes, while software updates can be installed to enhance performance and add new features. Overall, ECU coding provides flexibility, boosts performance, and offers effective vehicle troubleshooting. Bi-Directional Control (Active Tests) The VD70S empowers technicians to actively test and command vehicle components. With full bi-directional control, you can quickly locate faults and verify repairs by triggering components on demand. Examples include: Throttle TestABS TestLight TestWindow Test Why choose the VD70S? Compared to the previous generation VD70, the VD70S offers both Wi-Fi and wired connectivity, with advanced key programming and encoding capabilities. Whether you maintain a fleet or service a variety of trucks, this tool can meet your business expansion needs.
Learn more
Free Shipping
Fast & free shipping on all orders

Safe Payment
Easy and flexible checkout

30-Day Returns
Hassle-free returns within 30 days

24/7 Support
Round-the-clock support for you